How to Maintain and Flush Your Water Heater

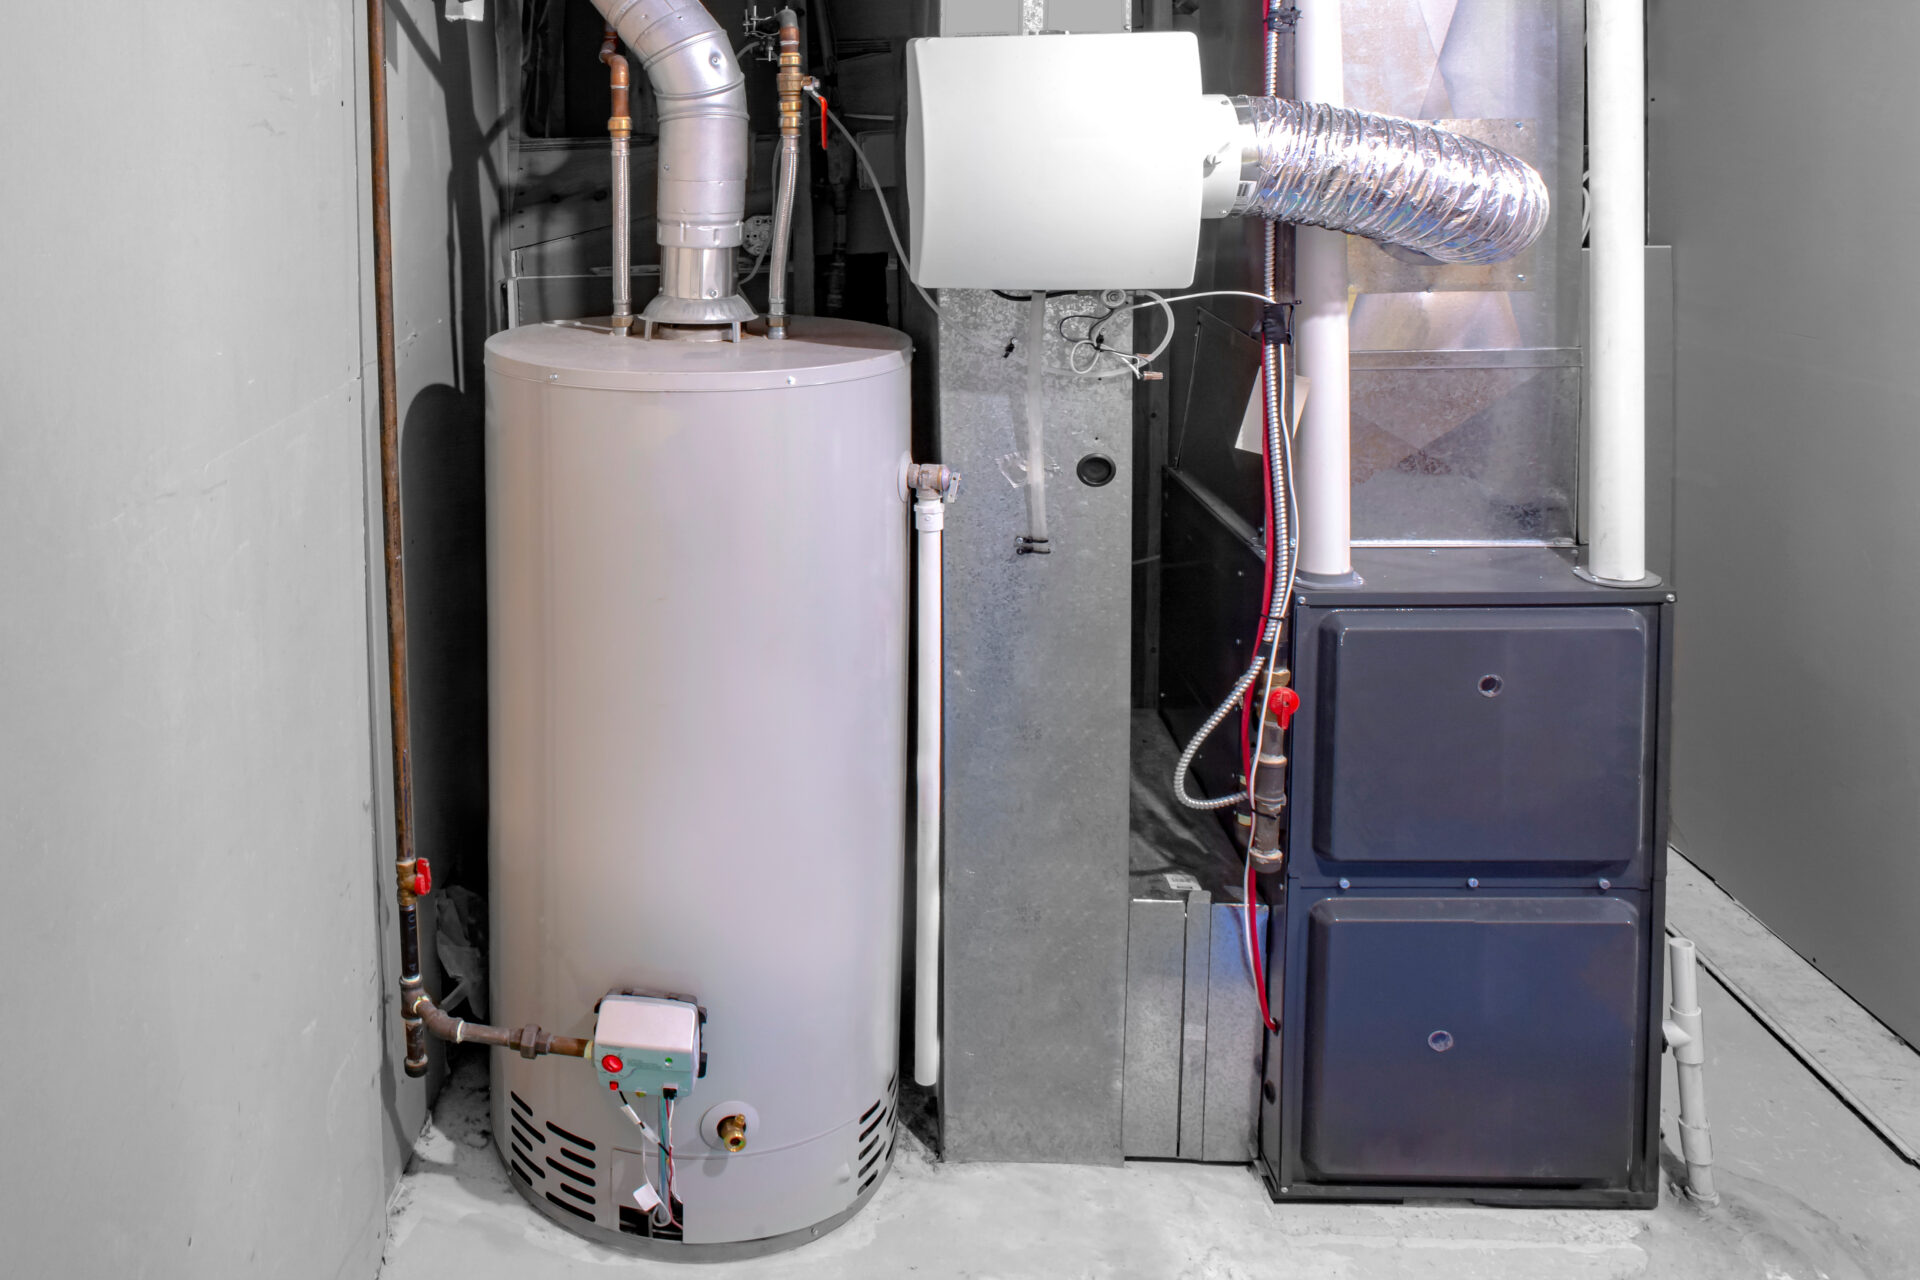
Proper maintenance of your water heater can extend its life, improve its efficiency, and ensure you have hot water when you need it. One of the key maintenance tasks is flushing the water heater to remove sediment buildup. Here’s a step-by-step guide on how to maintain and flush your water heater.
Why Flush Your Water Heater?
Over time, sediment and minerals from your water supply can accumulate at the bottom of the water heater tank. This buildup can reduce the efficiency of the heater, increase your energy bills, and potentially damage the unit. Flushing the tank removes this sediment, ensuring optimal performance.
What You’ll Need
- A garden hose
- A bucket or a floor drain
- A wrench
- Safety gloves and goggles
Steps to Flush Your Water Heater
- Turn Off the Water Heater:
- For electric heaters, switch off the power at the circuit breaker.
- For gas heaters, turn the gas valve to the “pilot” setting.
- Shut Off the Water Supply:
- Locate the cold water supply valve at the top of the heater and turn it off.
- Attach the Garden Hose:
- Connect one end of the garden hose to the drain valve at the bottom of the water heater. Place the other end in a bucket or direct it to a floor drain.
- Open the Drain Valve:
- Carefully open the drain valve to allow the water to flow out through the hose. Be cautious, as the water may still be hot.
- Open the TPRV:
- Open the Temperature and Pressure Relief Valve (TPRV) to allow air to enter into the tank. This will help the water to drain more easily.
- Open a Hot Water Tap:
- Open a hot water tap in your home to allow air into the tank, which will help the water to drain more easily.
- Flush the Tank:
- Once the tank is empty, briefly turn on the cold water supply to stir up any remaining sediment. Allow the water to flow out until it runs clear.
- Close the Drain Valve:
- Once the water is clear, close the drain valve and remove the hose.
- Refill the Tank:
- Turn the cold water supply back on to refill the tank. Keep the hot water tap open to release any trapped air.
- Restore Power or Gas:
- For electric heaters, switch the power back on at the circuit breaker.
- For gas heaters, turn the gas valve from “pilot” to “on.”
- Check for Leaks:
- Inspect the drain valve and the connections to ensure there are no leaks.
Additional Maintenance Tips
- Inspect the Anode Rod: Check the anode rod annually and replace it if it’s heavily corroded. The anode rod helps prevent tank corrosion.
- Adjust the Temperature Setting: Set your water heater to 120°F to prevent scalding and reduce energy consumption.
- Check the Pressure Relief Valve: Lift the pressure relief valve lever to ensure it opens and closes properly. This valve prevents excess pressure buildup in the tank.
Conclusion
Regular maintenance, including flushing your water heater, can significantly extend its lifespan and improve its efficiency. By following these simple steps, you can keep your water heater in top condition, ensuring you have a reliable supply of hot water and potentially saving on energy costs.
For more home maintenance tips and professional inspection services, contact Caspian Home Inspection. We dig deep, you rest easy.


